Quickstart
Set up your first pipeline and start sending data in minutes.
This guide walks you through the fastest way to start collecting data from a source integration sensor and presenting it in a target integration platform.
Prerequisites
This quick start guide is intended for users who have already completed the onboarding, and are logged in with a fresh account and are ready to start processing their data through data pipelines. For in-depth details about specific integrations and any additional setup steps or requirements that need to occur, you should consult the documentation for that integration by going to the Integration Library
General Workflow
flowchart LR
    A[Register Source Integration] --> C[Create Pipeline]
    B[Register Target Integration] --> C[Create Pipeline]
    C --> D[Execute Pipeline]
    D --> E[Monitor Execution]
Creating Your First Pipeline
1. Create a Source
- Go to the Integrations tab and click Add Integration
- Select the Integration you want to collect data from
- If Credentials are required:
- Choose an existing set of Credentials from the list, or…
- Click + Credentials, follow the on-screen setup instructions, and provide the requested information
- On the integration setup form:
- Fill in the required details or select options from the dropdown to specify your data source
- Enter a meaningful name to locate this integration easily during pipeline creation
- Look for a green success toast confirming your setup

2. Create a Target
Repeat the steps above to register a target integration that you want to send data to.
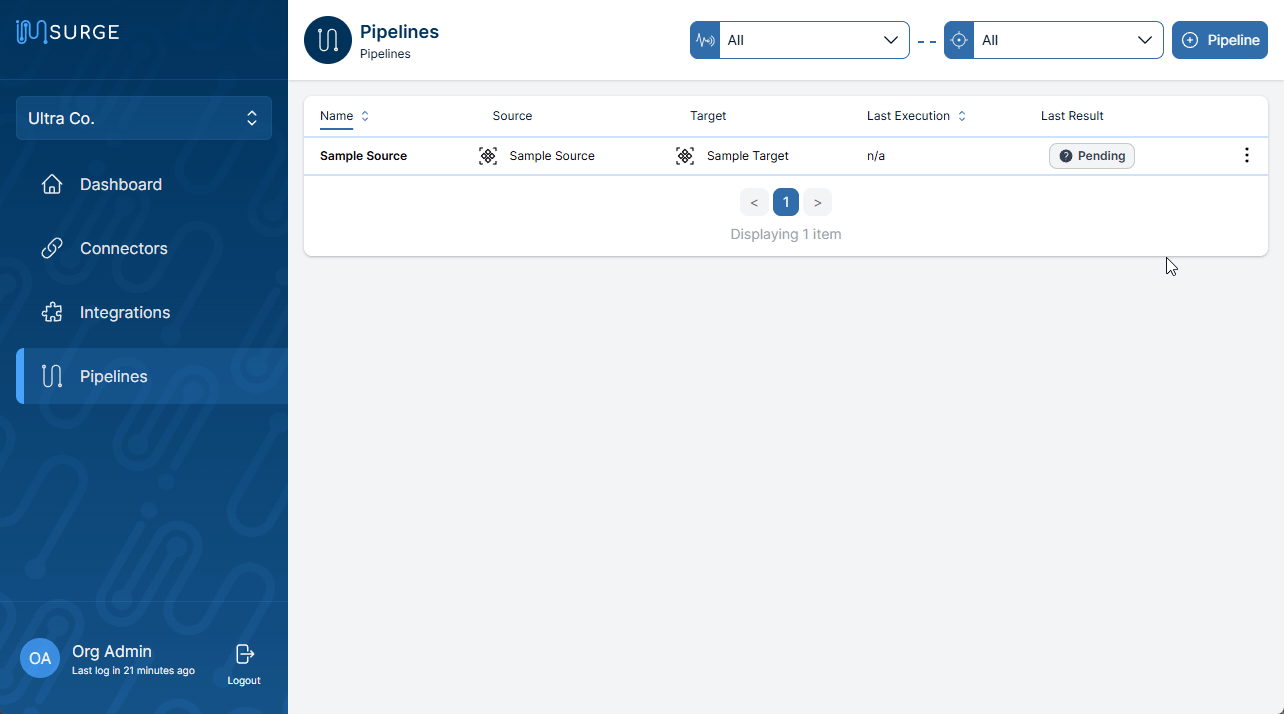
3. Create a Pipeline
- Navigate to the Pipelines tab and click Add New Pipeline
- Select your source integration, then your target integration
- Name the pipeline and choose a polling rate:
- We suggest a default rate, but you can adjust based on your project’s needs
- Note that higher polling rates may affect some integrations
- Confirm pipeline creation
4. Execute Your Pipeline
- Pipelines run at the next scheduled interval. To run immediately:
- On the Pipelines page, find your pipeline and click View Executions
- Click Execute to open the launch configuration
- Adjust parameters if needed (defaults are sufficient for a first run)
- Click Execute Now. Scheduled executions have priority, so the job may start within a minute
- You’ll land on the execution log page:
- A successful run means your data is now flowing and you should start seeing data appearing in your target software
- Future runs will occur automatically based on the polling rate
- If the run fails, consult the event log for error details.
- A successful run means your data is now flowing and you should start seeing data appearing in your target software
You’ve set up and run your first IMSURGE pipeline! Data collection will continue automatically per your schedule